HOPC Form Configuration in Insight
This guide explains how to configure and manage forms for the History of Presenting Complaint feature in the Insight administration page.
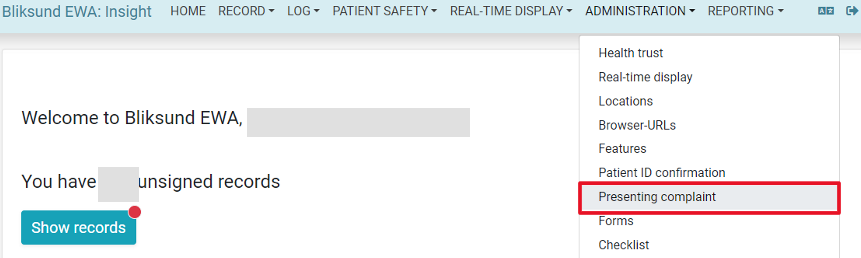
To access the configuration page, navigate to Administration > Presenting complaint in the main menu, as shown in the screenshot below. To access it, ensure that the feature flag is enabled and the necessary access rights are configured.
On the subsequent page, the available forms are listed, as shown in the following screenshot. These forms can be managed , as explained in the sections that follow.

Creating a New or Uploading an Existing HOPC Form
To create a new HOPC form, click the light blue New button, located at the top right below the search bar. This will open a context menu where you can select New to create an empty form. In the window or popup that appears, a name must be assigned to the new form, which can later be filtered using the search bar.
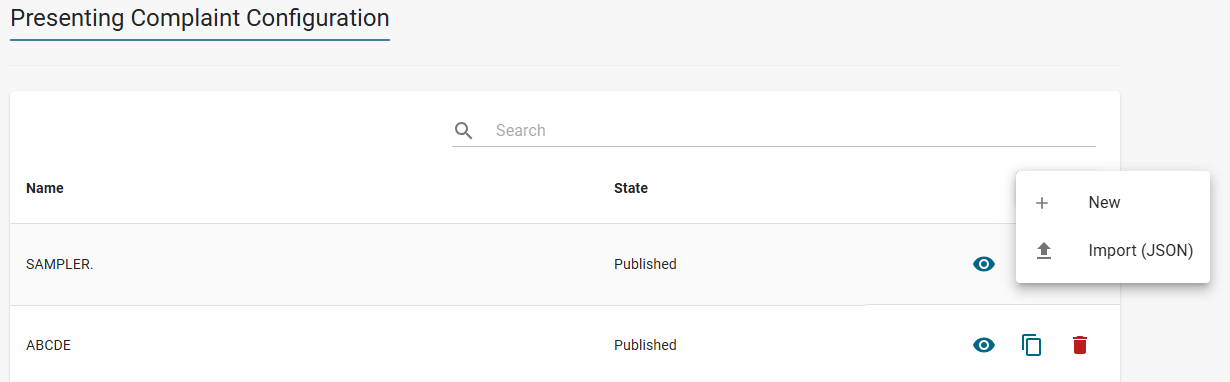
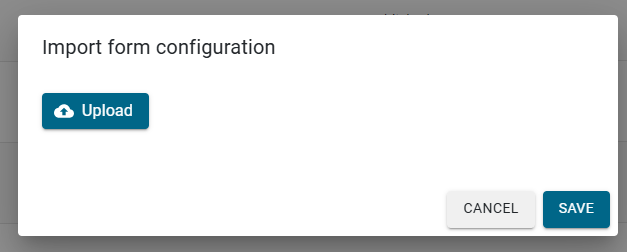
Alternatively, you can click the New button and choose Import (JSON) from the context menu to upload an existing form in JSON format.
Editing Draft HOPC Form Fields
As long as an existing HOPC form has not been published (draft), it can be edited using the blue pencil icon. Once the form has been published, the pencil icon is replaced with an eye symbol, allowing the form only to be viewed. Discover more about published forms and how to indirectly edit them again in section Saving, Export and Publishing Forms.

To avoid data inconsistencies, it is not possible to modify already published forms. If a modified version of an existing form is required, the form can be duplicated and edited as a new draft. Forms must be published to be used by the client.
Form Name and Resources
The Name field is required for each form and helps identify it for easy searching and filtering.
The Resources section below the Name field specifies which resources and organizations the form will be available for. This can be done through a hierarchical selection structure, where users can select an entire organization or individual resource elements beneath it. To ensure the form appears in the EWA client, it must be enabled for all required resources.

Editing Sections
Forms are structured into sections and questions, providing an organized way to collect data. Each section can contain any number of questions, and a form can include multiple sections, depending on its specific requirements. This structure allows related questions to be grouped together, making the form easier to navigate and complete. Additionally, for each section, it is possible to define which section follows once the questions are answered, enabling a smooth progression through the form. Alternatively, the form can be set to submit after completing a section.
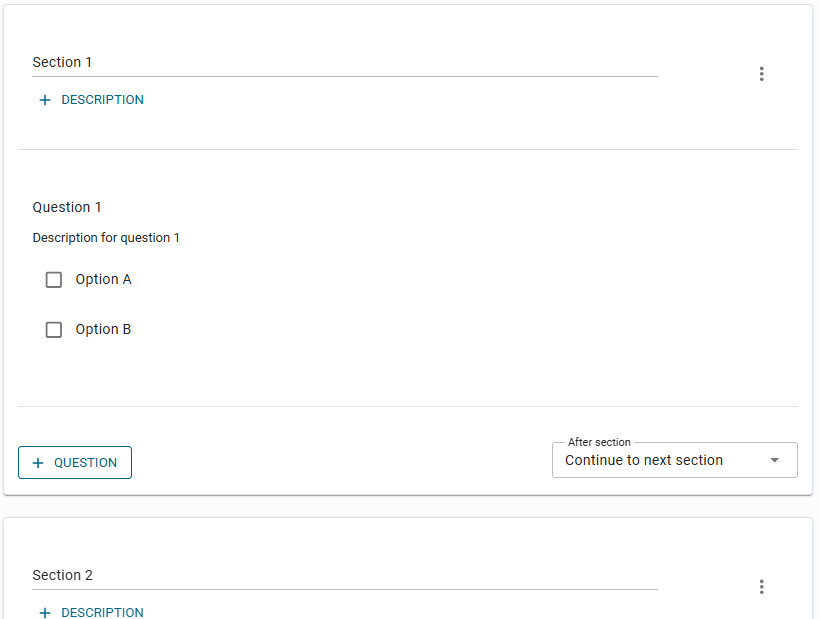
A new section is created by clicking the + Section button below the form triggers, which will be explained in the subsequent section Trigger Configuration. Once the section is created, a title can be provided, along with an optional description text to further explain the section’s purpose. Within each section, any number of questions can be added. When adding questions, various types of data entry can be chosen, providing high flexibility in data collection and accommodating both simple and complex responses.
The available question types include:
- Text Box: A single-line input field for short responses.
- Text Area: A larger input field for longer, multi-line responses.
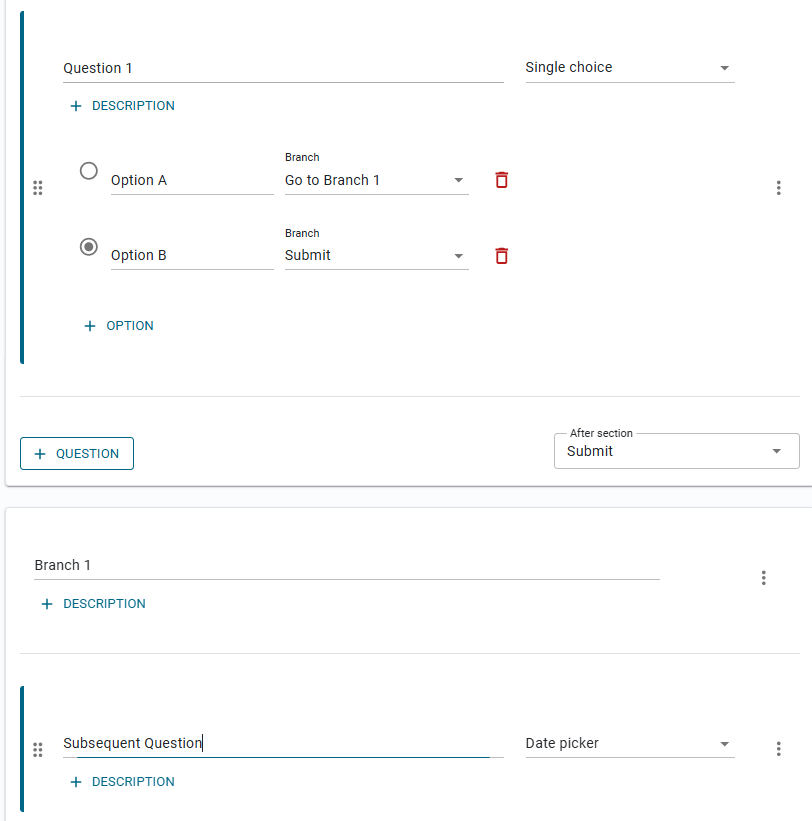
- Single Choice: A question where users can select only one option from a list using checkboxes. Optionally, these options can be linked to a scoring value, and branching can be applied to jump to another section if a specific option is selected (see screenshot below).
- Multiple Choice: A question where users can select one or more options from a list using checkboxes. These options can also be linked to a scoring value (see screenshot below).
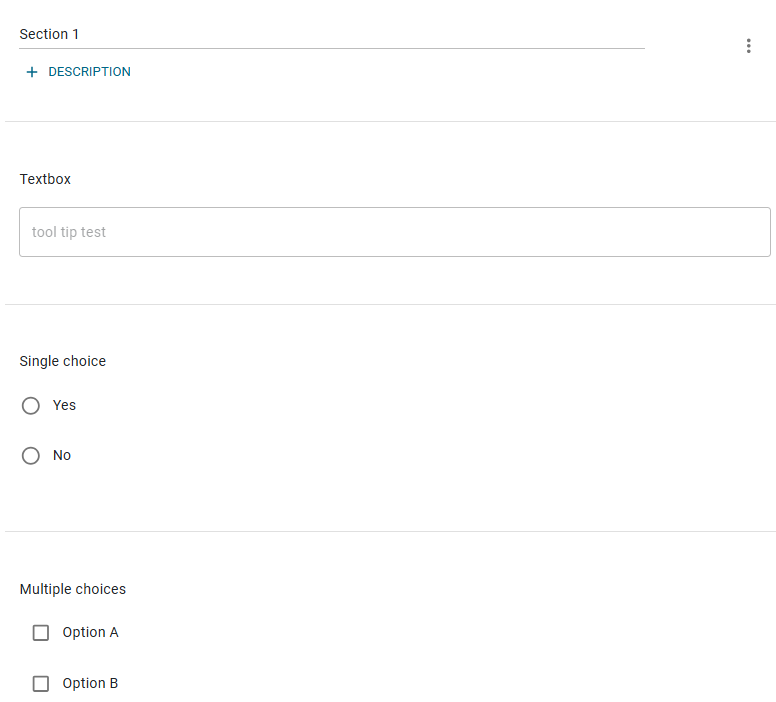
- Select Box: A field where users can select a single option from a list of predefined choices, without features for scoring or branching.
- Multiple-Select Box: A field where users can select multiple options from a list of predefined choices, without features for scoring or branching.
- Date Picker: A field for selecting a specific date.
- Time Picker: A field for selecting a time.
- DateTime Picker: A field for selecting a combination of both date and time.
- Number: An input field that only allows numerical values, differing from the general text box.
Example of branching in singe choice questions:
Example of scoring in singe choice questions:
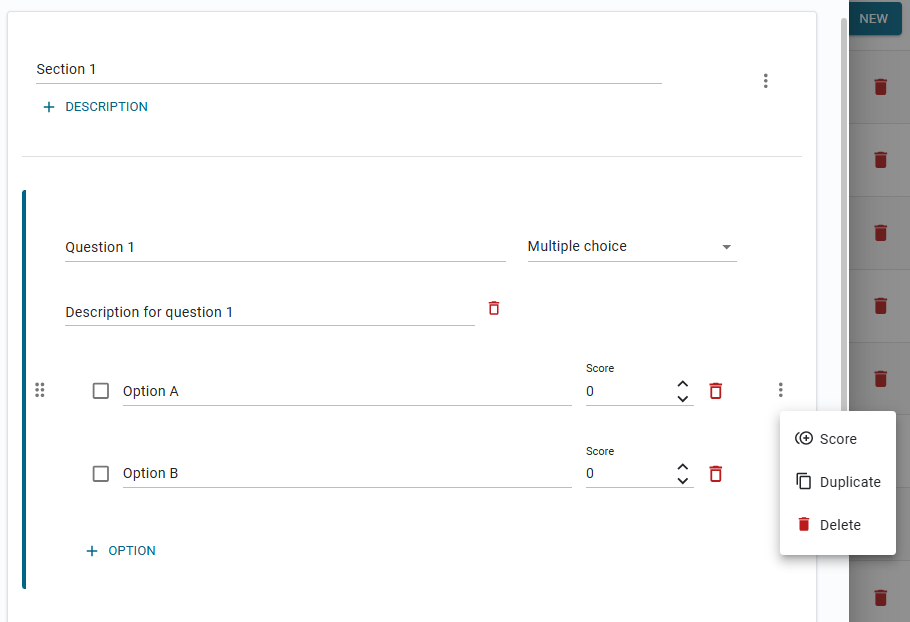
Sections and questions can be duplicated, moved, or deleted using the context menu accessed via the three dots on the right side of each item. The context menu allows for quick actions such as duplicating or deleting the selected section or question, as also included in the screenshot above. Both sections and questions can also be rearranged using the six-dot drag icon on the left, providing a flexible and efficient way to reorder items. This method allows for quick adjustments of the form without navigating through long element lists.
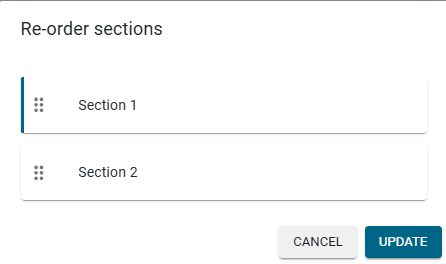
Additionally, sections can be reordered through the Move Section option in the context menu, which opens a pop-up displaying each section by its title only. This allows for easy reordering by dragging and dropping the sections, without the need to scroll though the entire list of elements, making it more efficient, especially when dealing with forms that contain many questions.
Trigger Configuration
Triggers allow you to control when a form is displayed based on specific conditions, such as the delivery location, dataset, or mission type. One can create multiple triggers for the same form, giving you flexibility to show it under different circumstances. To create a new trigger, simply click on the Trigger button on the right, as shown in the screenshot below.
Once you click the button, you can select one of the three trigger types:
- Locations: Triggers the form based on the selected location. For example, a form can be set to appear only when a specific ambulance station or hospital, linked to the resource, is selected as the delivery location.
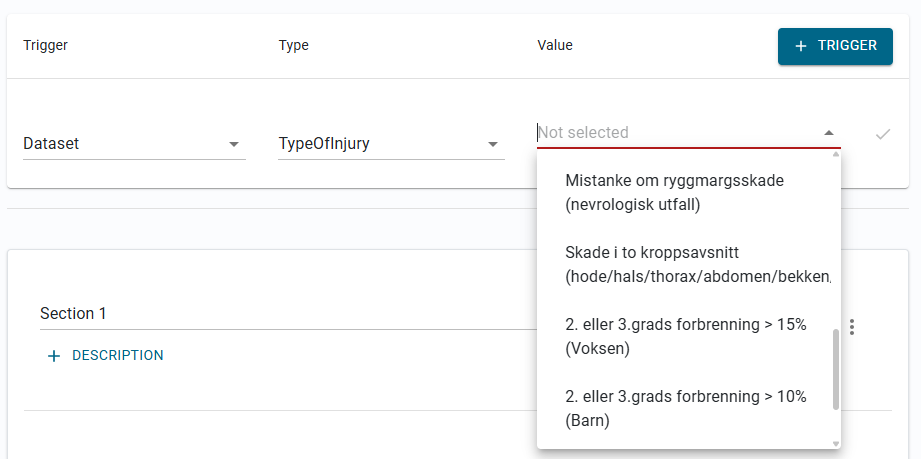
- Datasets: Filters can be applied based on datasets like circumstances, contagion risk, safety equipment, type of injury, and more. For example, the form can appear only if a second- or third-degree burn is selected as the injury type, as shown in the example below.
- Mission Types*: This trigger makes the form appear based on the mission type, such as ordinary ambulance missions, routine transport, or assisting fire/police.
The dropdowns allow for filtering of available options, with the search field enabling more precise selection. Once the desired trigger configuration is set, it can be confirmed by clicking the checkmark icon.
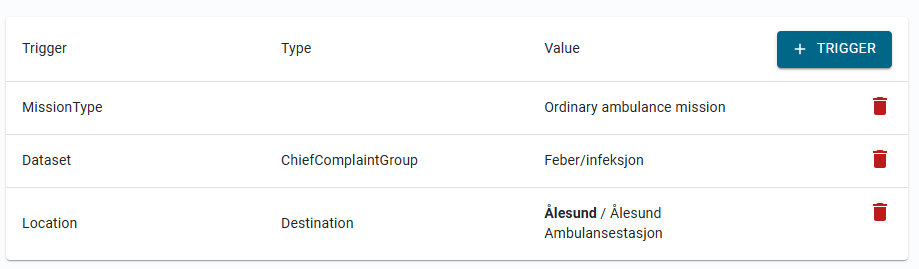
It is possible to create multiple triggers, whether of the same type or different types. This flexibility allows for various conditions to be set for when a form should appear. If necessary, triggers can be deleted by clicking the trash can icon next to the trigger.
Saving, Export and Publishing HOPC Forms
An edited or new HOPC form can be saved by selecting the Save button at the bottom of the popup. While it has not been published, the form remains in draft mode and can be modified at any time. In this state, the form is not available in the client. Once the Publish button is selected, the form becomes accessible in the client and cannot be edited further, to prevent data inconsistencies and migration issues. If changes are required after publication, the form must be duplicated, and a new version created.

Once a HOPC form is published, it can be downloaded in JSON format, as shown in the screenshot below. This JSON file can then be re-imported, as shown in section Creating a New or Uploading an Existing Form, effectively duplicating the selected form. This enables the form to be edited again without losing the data from the original form.

The HOPC form must be published to be available in the EWA client.
Submitting HOPC Forms in EWA Client
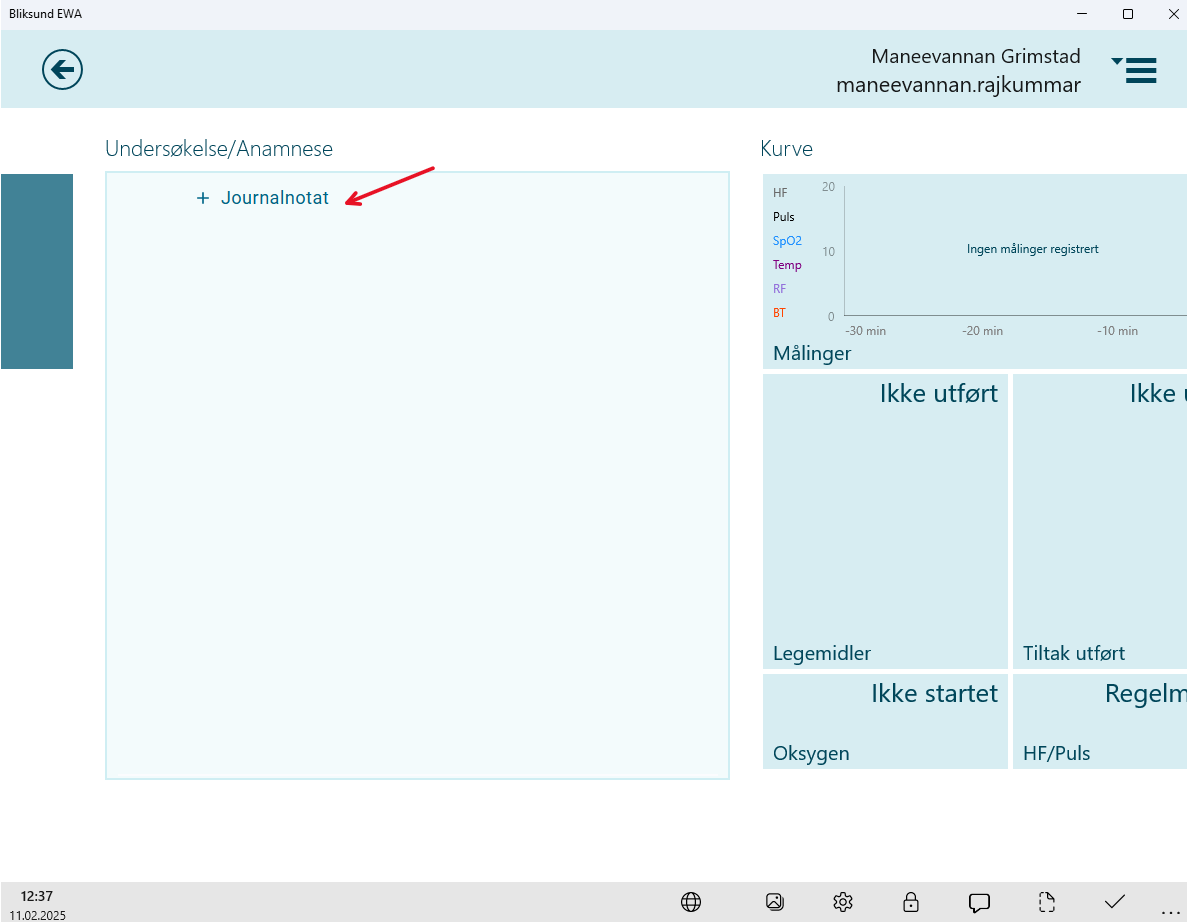
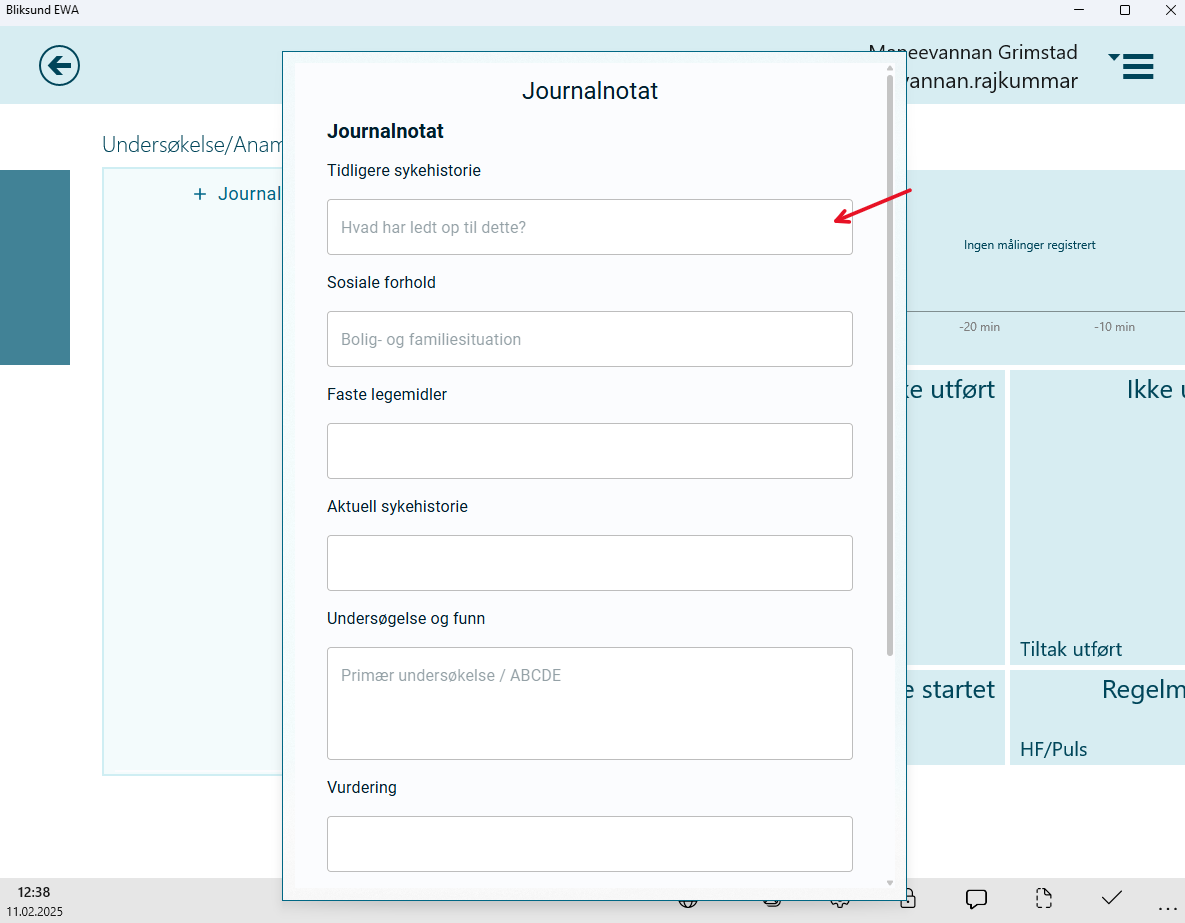
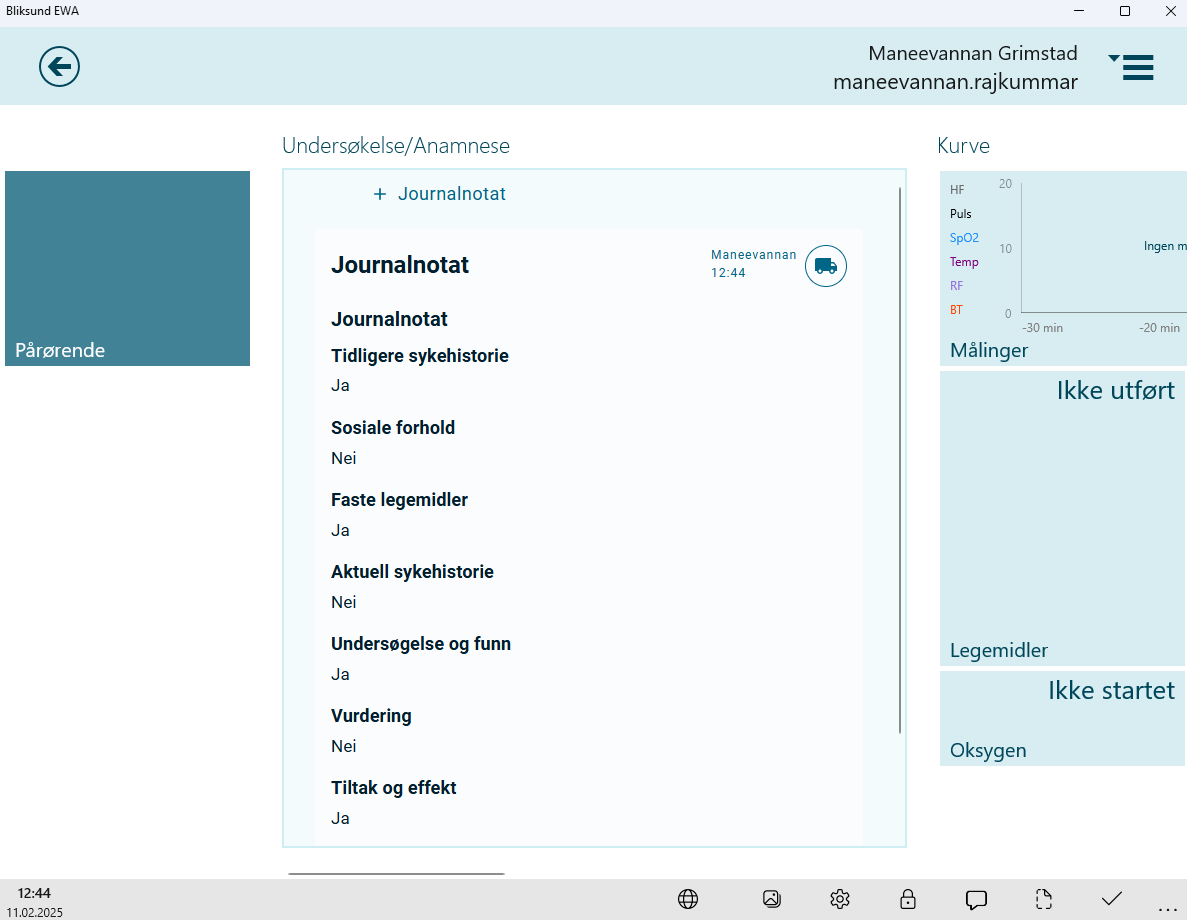
The HOPC form responding process in the client has been designed for simplicity and ease of use. When filling out a form, users can save their input instantly by clicking outside the form, similar to how other tiles work in the EWA client.
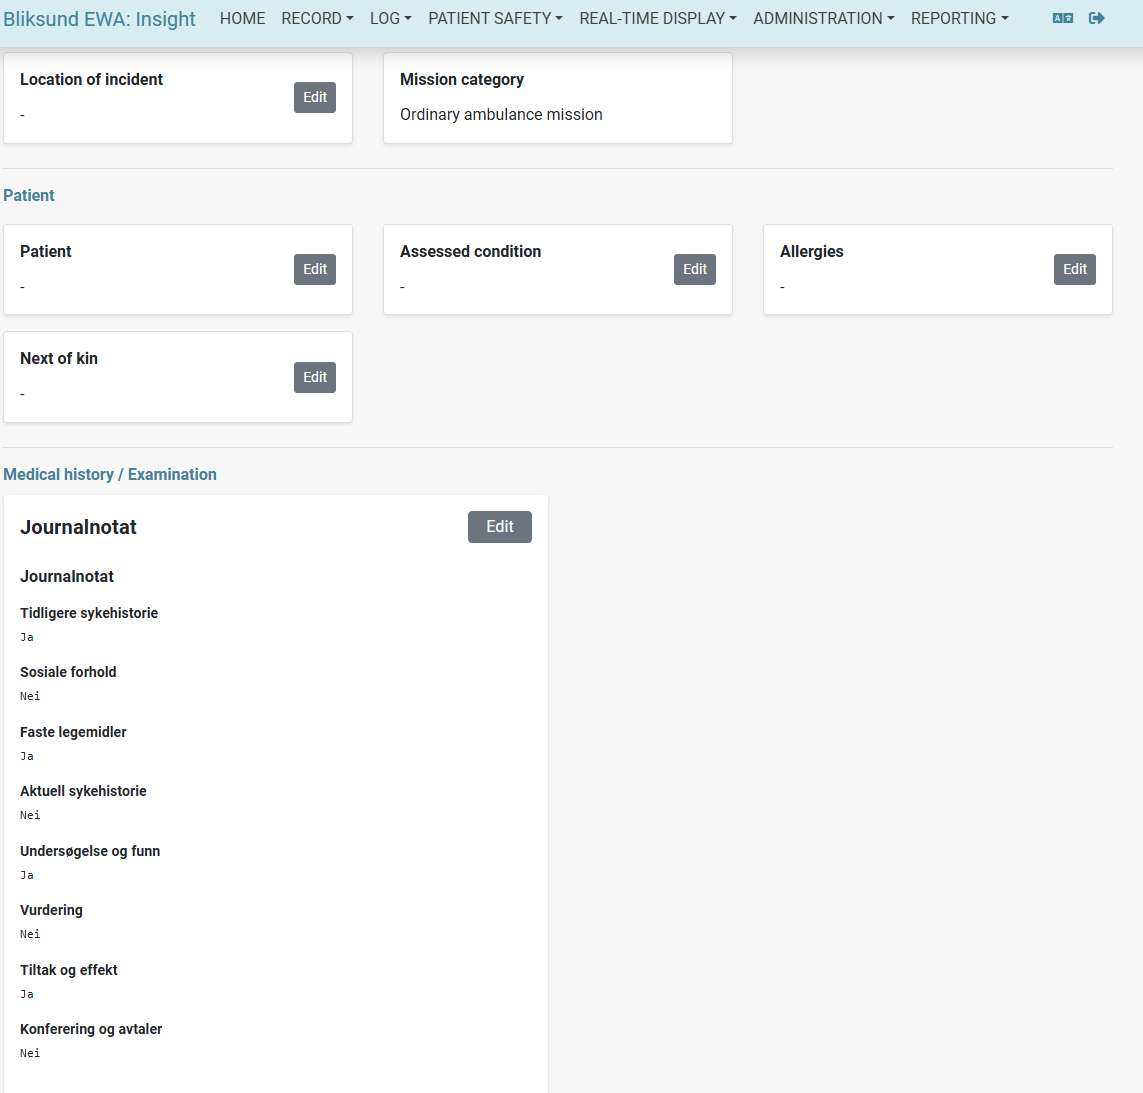
Accessing Submitted HOPC Forms in the Insight Record Page
We have introduced a new section in the View and Edit Records pages to display the history of presenting complaint responses.
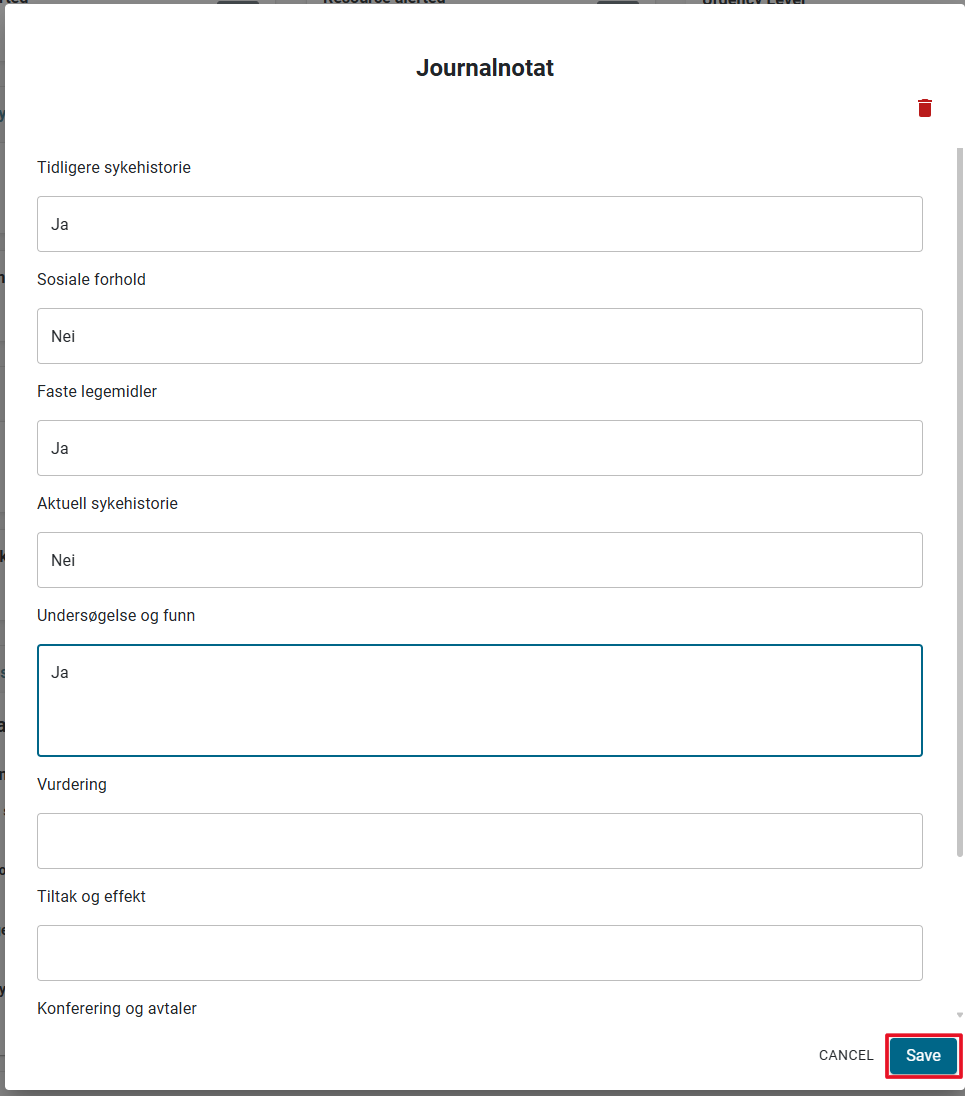
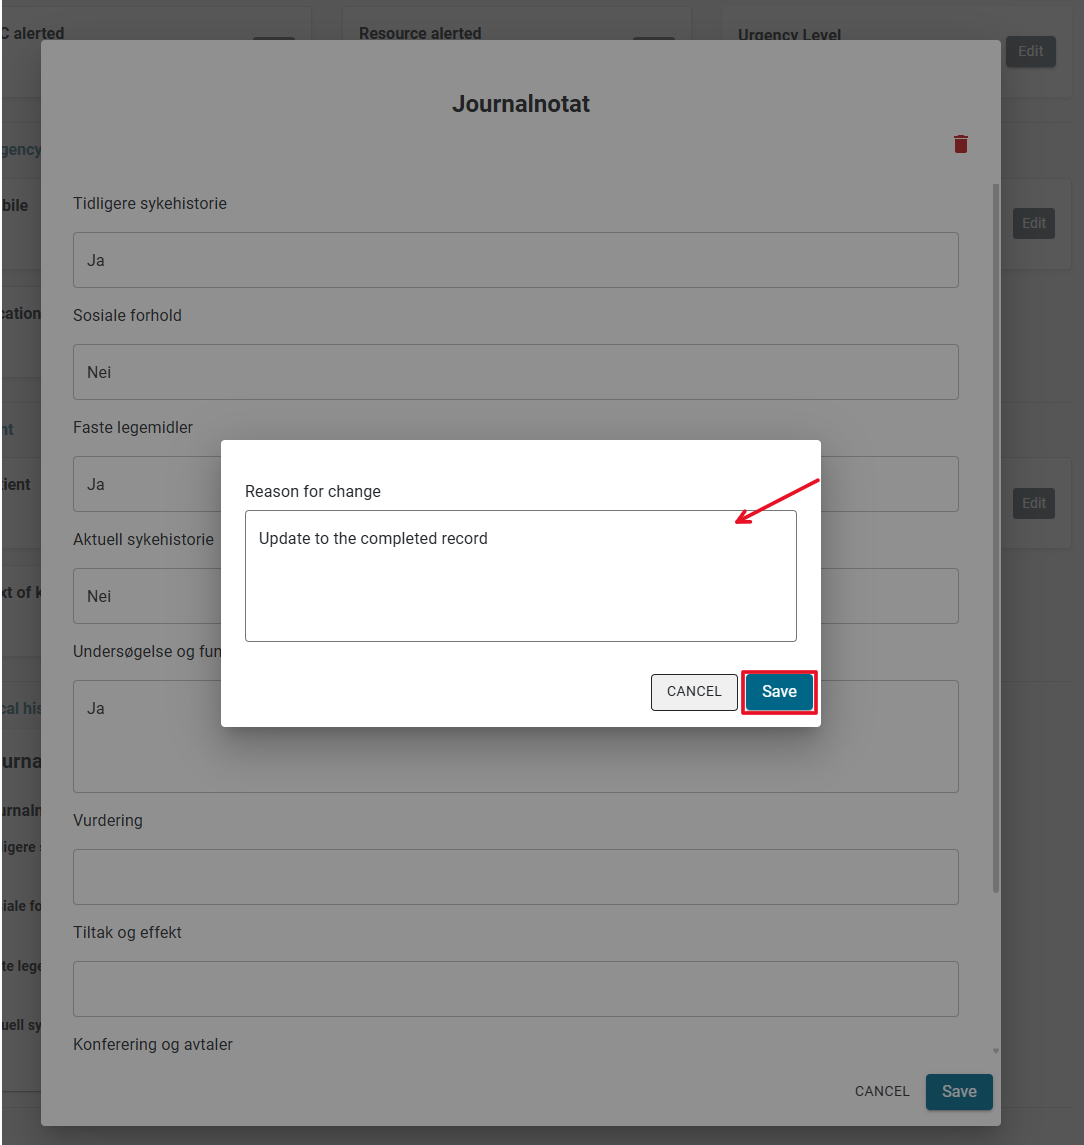
To modify the response for the record in Insight, Click 'Edit' on the response , modify the HOPC response and click save. If a record is updated, the reason for the change must be recorded.
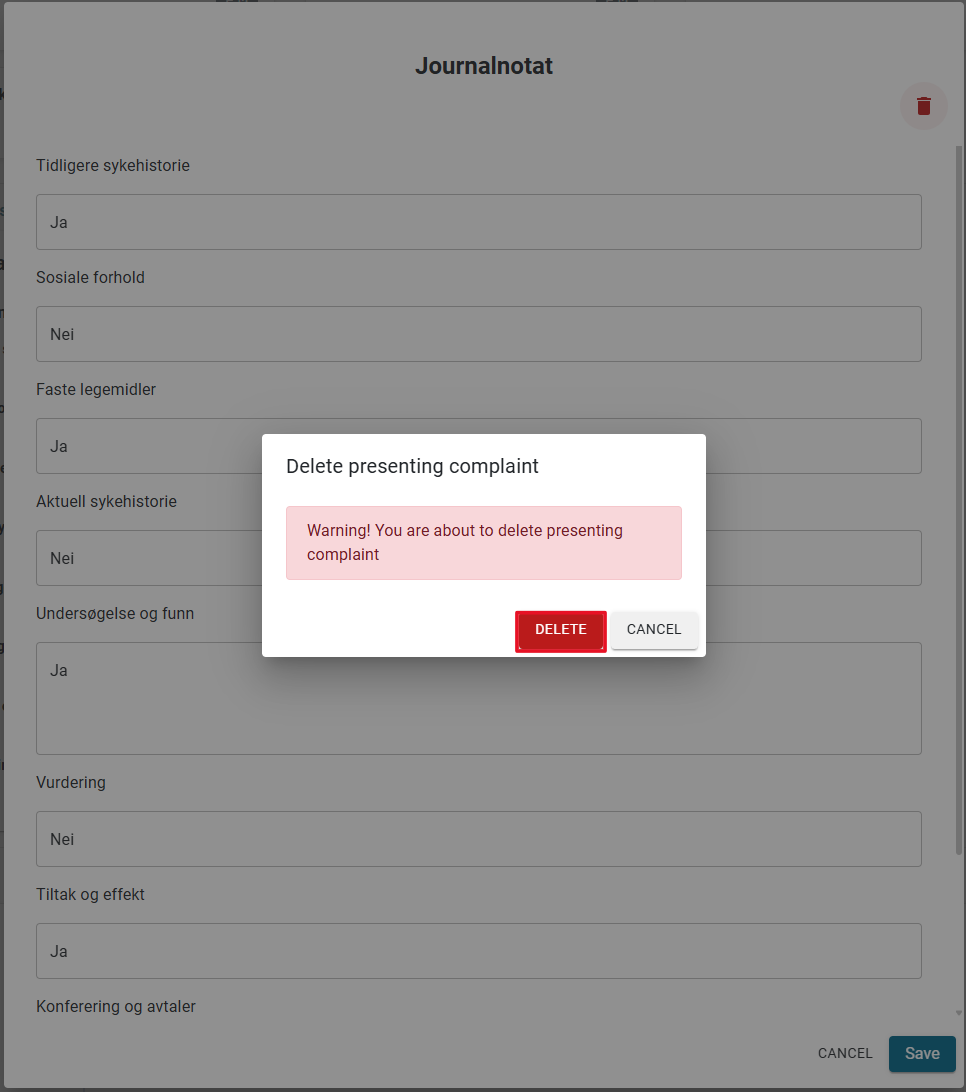
To delete a response, click the delete icon in the edit window and confirm the deletion in the confirmation popup.

Preview Configuration
*Introduced in release 39*
We have introduced a preview option on the configuration page. By clicking the 'Preview' button, users can now preview forms while creating new ones or view forms in draft and published states. This feature enables users to see how the elements and conditions will appear and function during form completion.
To preview, simply click the 'Preview' button in the create/edit flyout.


Text formatting options
*Introduced in release 40.2.0*
See Form Configuration User Guide for more details.