Version Management Guide
This guide focuses on how to manage software versions in the Version Manager system.
Package Preparations
To be able to upload files to a version, you need to prepare the package to be uploaded. This includes gathering the files needed in the package and then zipping them to a package.
EWA Client Packages
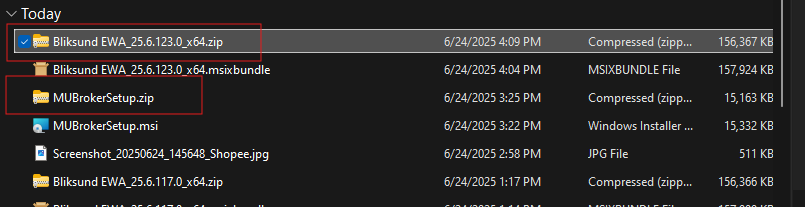
EWA Client packages should be a .zip file containing:
- The .msixbundle file for the EWA client
- A Dependencies folder with dependencies not already on the clients
Example structure:
Bliksund EWA_25.5.43.0_x64_ARM.msixbundle.zip
├── Bliksund EWA_25.5.43.0_x64_ARM.msixbundle
├── Dependencies/ (Optional)
│   └── x64/
│       └── Microsoft.VCLibs.x64.14.00.Desktop.appx
MUBroker Packages
MUBroker packages should be a .zip file containing:
- The .msi file for the MUBroker installer
Example structure:
MUBroker_1.0.0.zip
└── MUBroker.msi
Managing Versions
The Versions tab in the Version Manager interface allows you to add new software versions and upload installation packages.
Adding a New Version
To add a new version:
- Select the product (e.g., EWA Client or MUBroker)
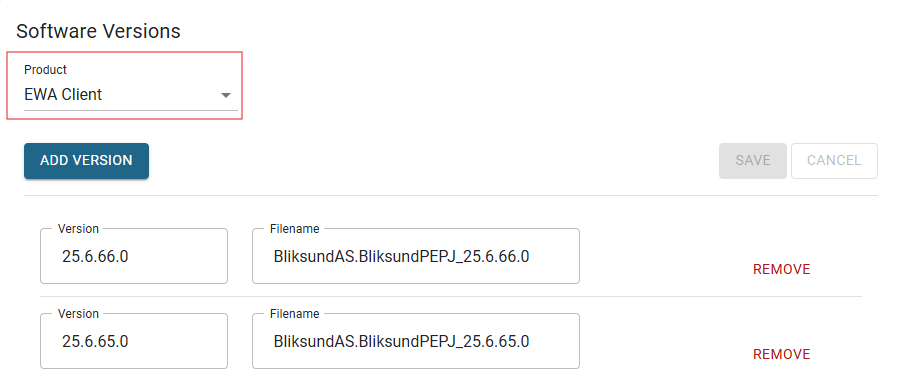
- Click the "Add version" button
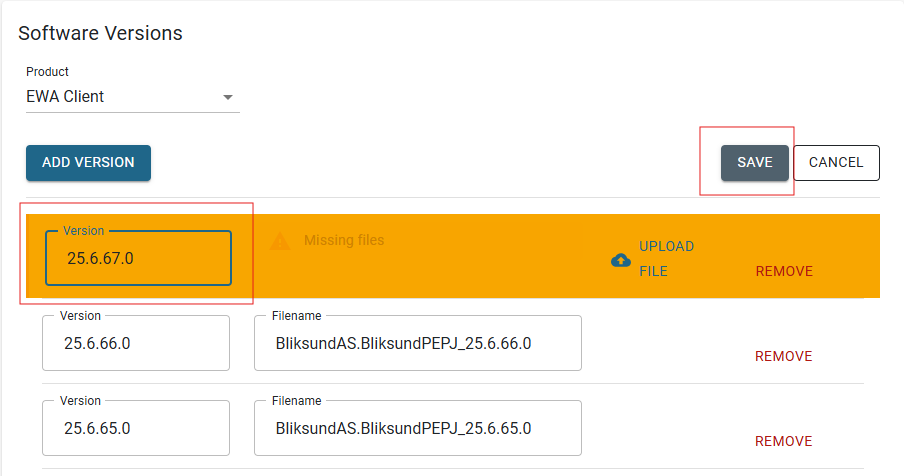
- Enter the version number (must follow semantic versioning format, e.g., "1.0.0.0") then click “Save” button
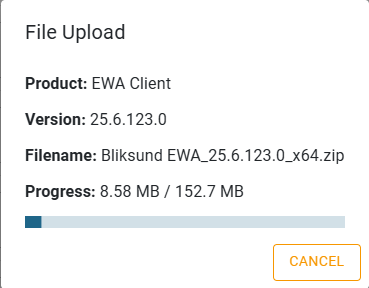
Uploading Installation Files
After adding a version, you need to upload the installation package:
- Select the version from the list
- Click the “Upload file” button
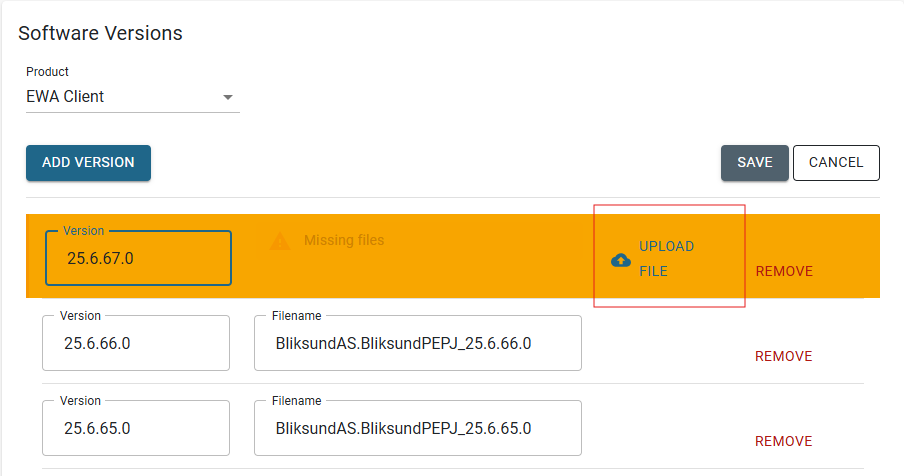
- Select the package file (.zip format)
- Click Open
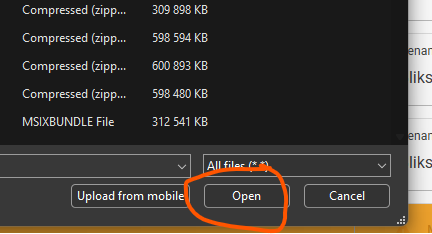
- Wait for the upload to complete
Manage Groups
The Groups tab allows you to create and manage device groups. Groups make it easier to manage multiple devices by allowing you to set update policies that apply to all devices in the group.
Creating a Group
To create a new group:
- Click the “Add” button
- Enter a name for the group
- Select the desired version
- Click Save

You can add the configuration for each group via the “Configure” button, it’s allows the JSON format only with validation.
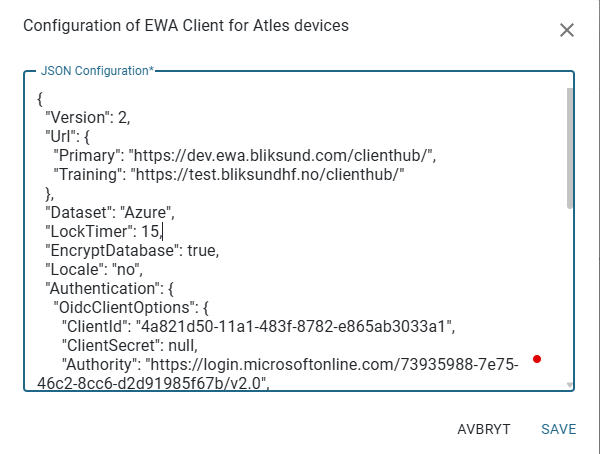
Here is a sample of JSON configuration for EWA Client product:
{
  "Version": 2,
  "Url": {
    "Primary": "https://dev.ewa.bliksund.com/clienthub/",
    "Training": "https://test.bliksundhf.no/clienthub/"
  },
  "Dataset": "Azure",
  "LockTimer": 15,
  "EncryptDatabase": true,
  "Locale": "no",
  "Authentication": {
    "OidcClientOptions": {
      "ClientId": "4a821d50-11a1-483f-8782-e865ab3033a1",
      "ClientSecret": null,
      "Authority": "https://login.microsoftonline.com/73935988-7e75-46c2-8cc6-d2d91985f67b/v2.0",
      "Scope": "openid profile api://4a821d50-11a1-483f-8782-e865ab3033a1/Client"
    },
    "UserIdClaimType": "preferred_username",
    "NameClaimType": "name",
    "OrganizationClaimType": "extn.OrganizationIdentification",
    "CurrentOrganizationId": null,
    "UseWebView2Login": true,
    "EnableAzureSSOExperience_Comment": "Set to true to enable SSO experience using the logged in-to Windows account",
    "EnableAzureSSOExperience": true,
    "AdditionalLoginParameters_Comment": "Often used when EnableSSOExperience is set to true to configure the login experience. Examples: &prompt=select_account, &prompt=none, &prompt=login",
    "AdditionalLoginParameters": "&prompt=select_account"
  },
  "Logging": {
    "MinimumLevel": "Warning"
  },
  "EnableWebViewDebugging": false
  }
Managing Devices
Viewing Devices
The device list shows:
- Machine Id
- Device name
- Group assignment
- Last contact time
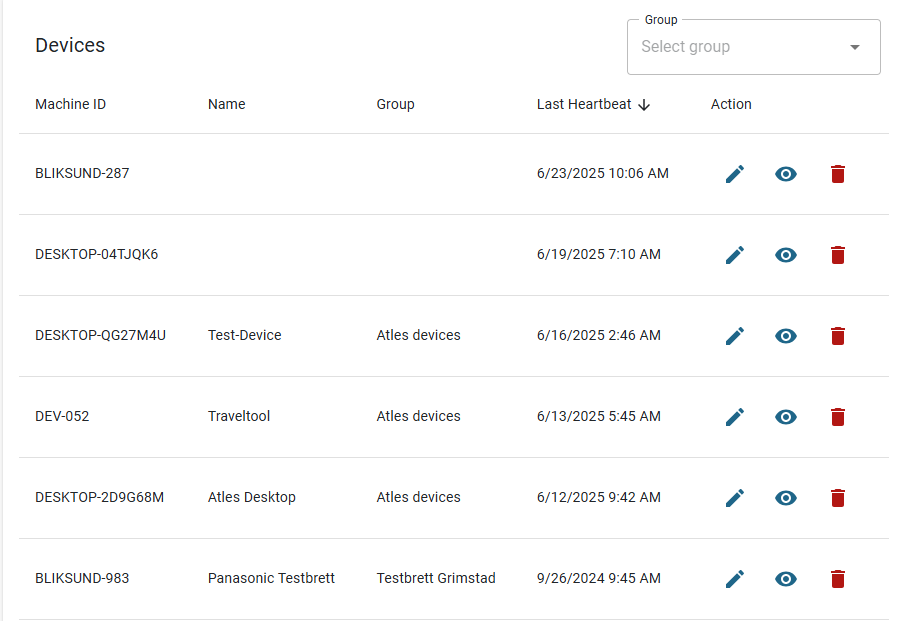
Devices with a properly configured Version Manager service will automatically register themselves. By default, newly registered devices are placed without a group.
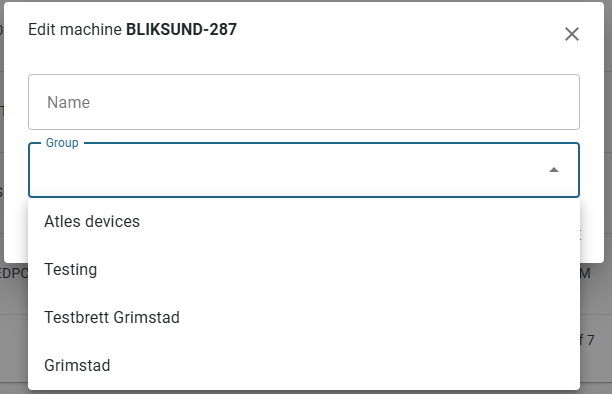
Assigning Devices to Groups
To assign a device to a group:
- Click on “Edit” icon button on the device from the list
- Choose a group from the dropdown menu
- Click Save
Troubleshooting Update Issues
If devices aren't receiving updates:
- Check that the device is assigned to a group
- Verify that the group has the correct version assigned
- Check the installation time (if it hasn't passed yet, the update won't install)
- Verify that the device has contacted the Version Manager recently (Last Heard From time)
- Check the device's Event Viewer logs for error messages
Rolling Out a New Version
Best practices for deploying new versions:
- Add the new version on the Versions tab
- Upload the installation package
- Assign the new version to a test group first
- Monitor devices in the test group to ensure successful installation
- Once verified, assign the new version to more groups
Managing Multiple Environments
You can create different groups for different environments and have different configurations for them
- Test: For initial testing of new versions
- UAT: For user acceptance testing
- Production: For wide deployment
This allows you to roll out updates gradually and verify them at each stage.