Userguide for functionality related to records in Insight
Search Records V2
Once the appropriate access rights are assigned, you can navigate to the record page by either:
- Clicking Record → Search Record in the main menu.
- Clicking the Show Records button.(If you have unsigned records)
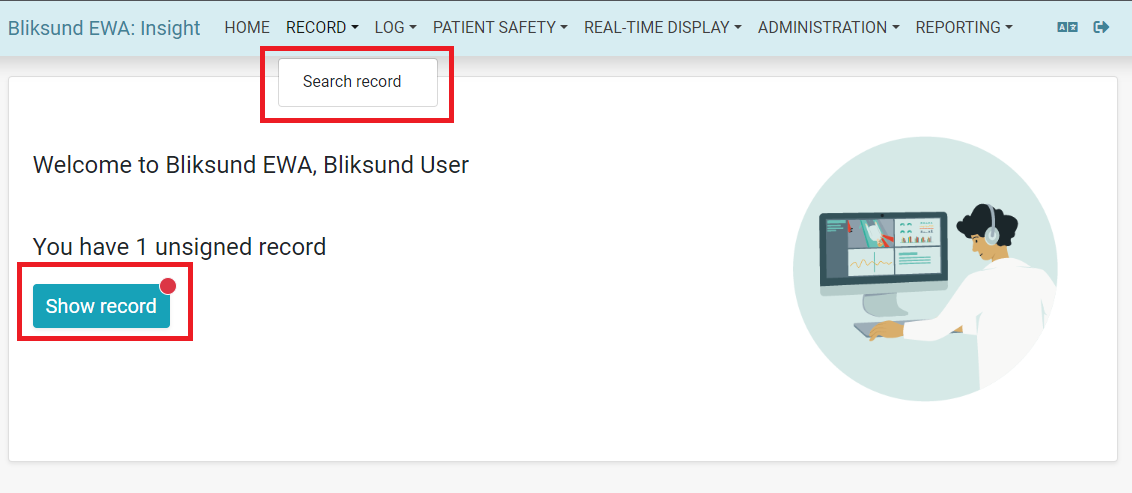
Either of these will open the Search Record page.
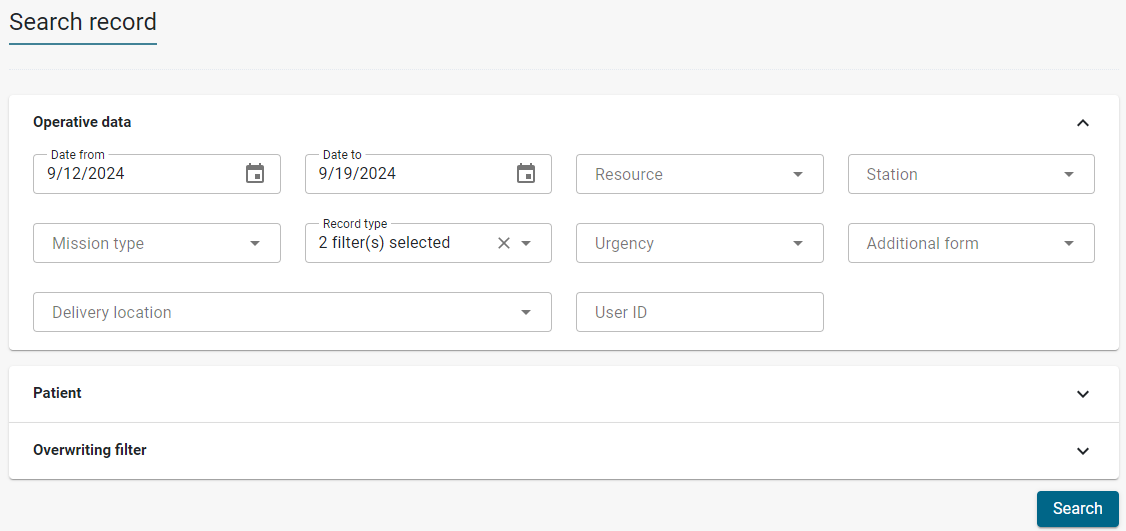
Filters for Searching Records
The following filters are available to narrow down the search results:
Operative data section
This section contains filters commonly used to narrow down the record search results.
Available filters include:
Date from: The start date of the search (current day of last week is set as default).Date to: The end date of the search (today is set as default).Resource: The resource that handled the incident.Station: The station to which the resource is assigned.Mission type: The type of incident.Record type: The state of the record.Urgency: The urgency level of the record.Additional form: Additional forms linked to the record.Delivery location: The destination where the patient was delivered.User ID: The ID of user who participated in a record.

Patient section
This section contains filters for patient-related information. Available filters include:
Name: The name of patient.Birthdate: The birth date of patient.National id number: The national ID number of patient.Identity number type: The type of ID number of patient.

Overwriting filter section
This section contains filters that will override all other selections. Available filters include:
Record number: The internal record ID.EMCC number: The dispatch incident ID.

Search Results
Pressing search will give you the matching records in a results list
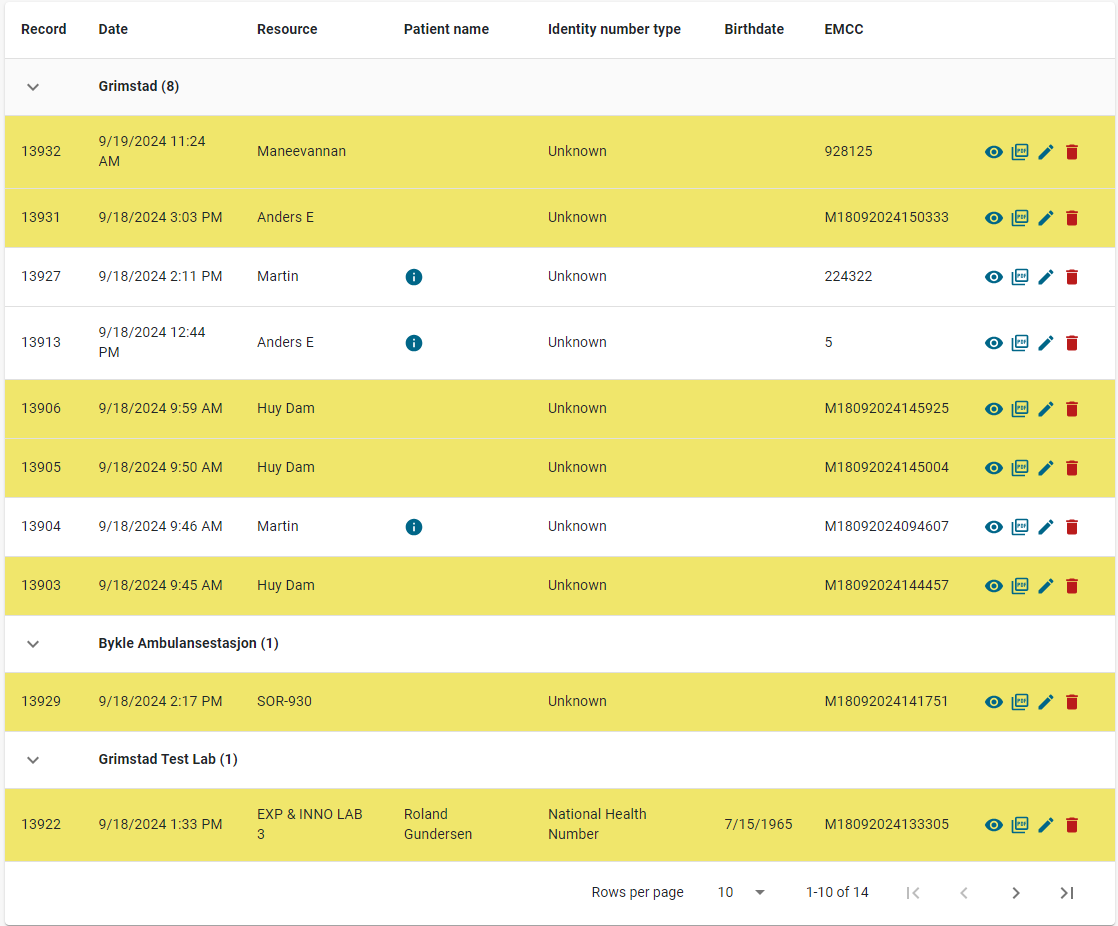
The record overview page displays all records accessible to the user based on their permissions.
There are four types of actions that can be performed on each record:
ViewPrintEditDelete
Records have different states, each represented by a specific color:
White: CompletedYellow: OngoingRed: DeletedBlue: Aborted
Note: No actions can be performed on journals that have been deleted.
Viewing, editing, printing, or deleting a record will be logged in the audit log.
Viewing a Record
To view a record, click View.
A window will prompt you to select a reason for viewing.
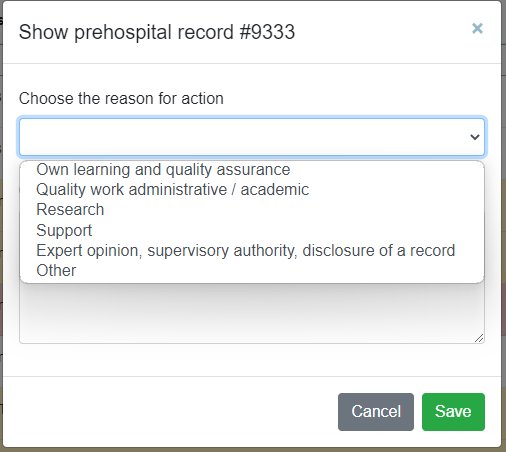
Select a reason and click Save. The record details page will open.
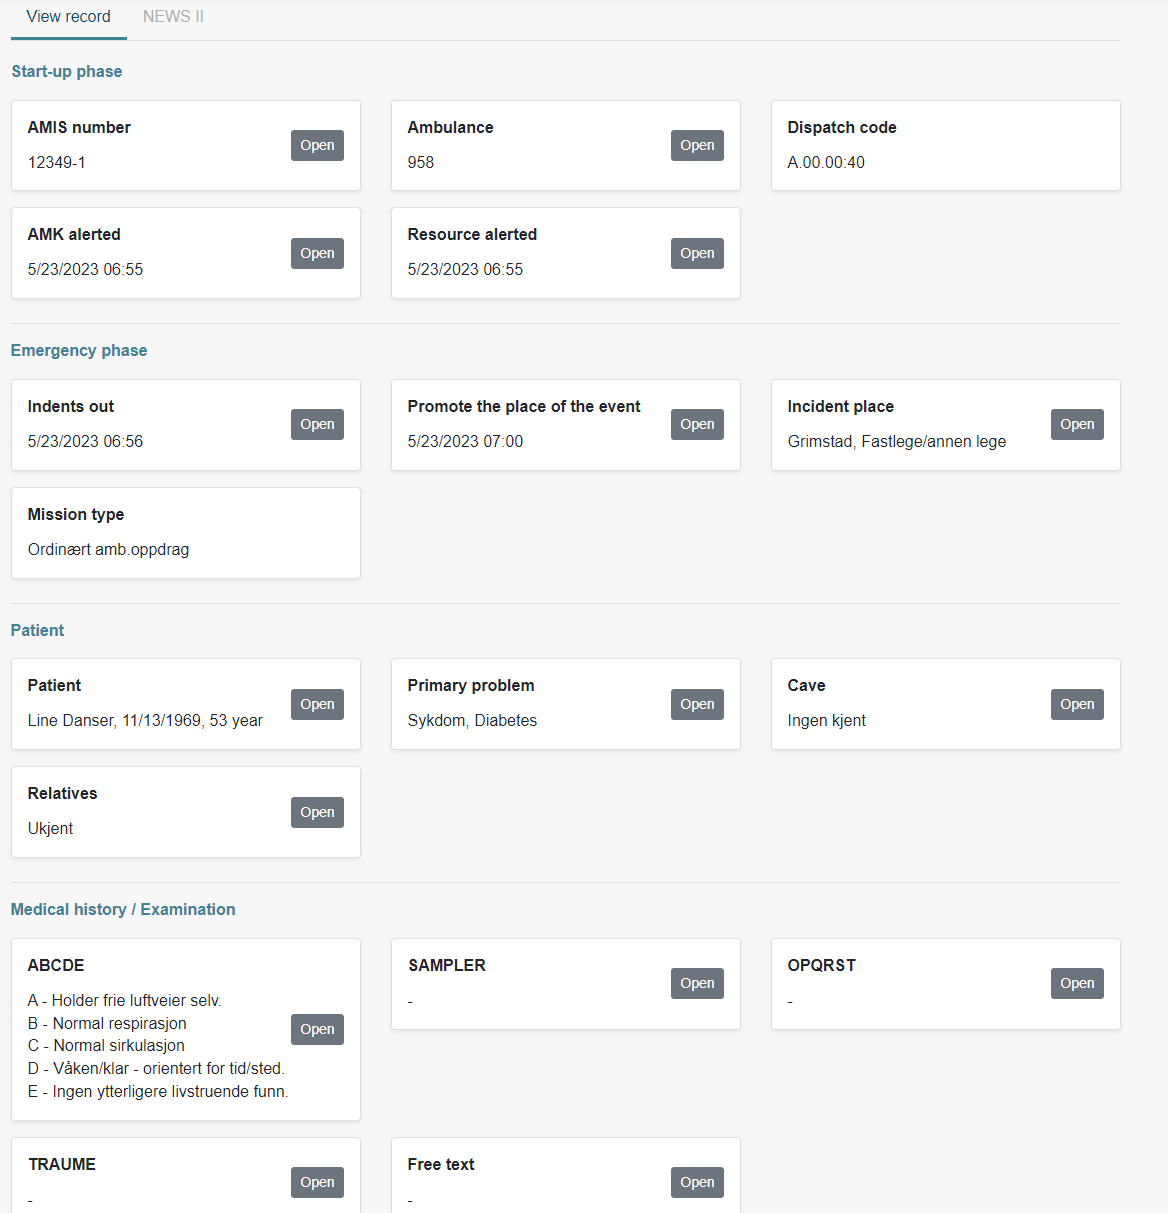
To view more details, click Open. The detailed view will open.
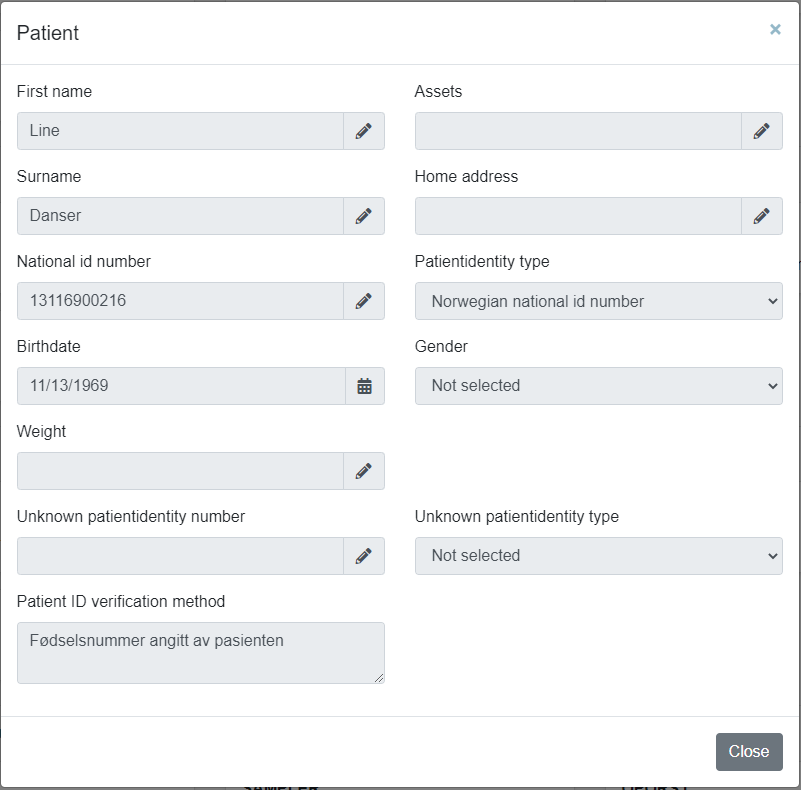
Note: It is not possible to make changes while viewing a record.
Editing or completing a record
To edit a record, click Edit.
A window will prompt you to select a reason for editing.
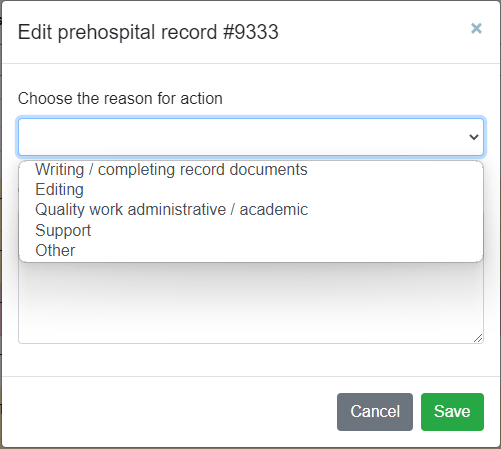
Choose a reason and click Save. This will open the editing page.
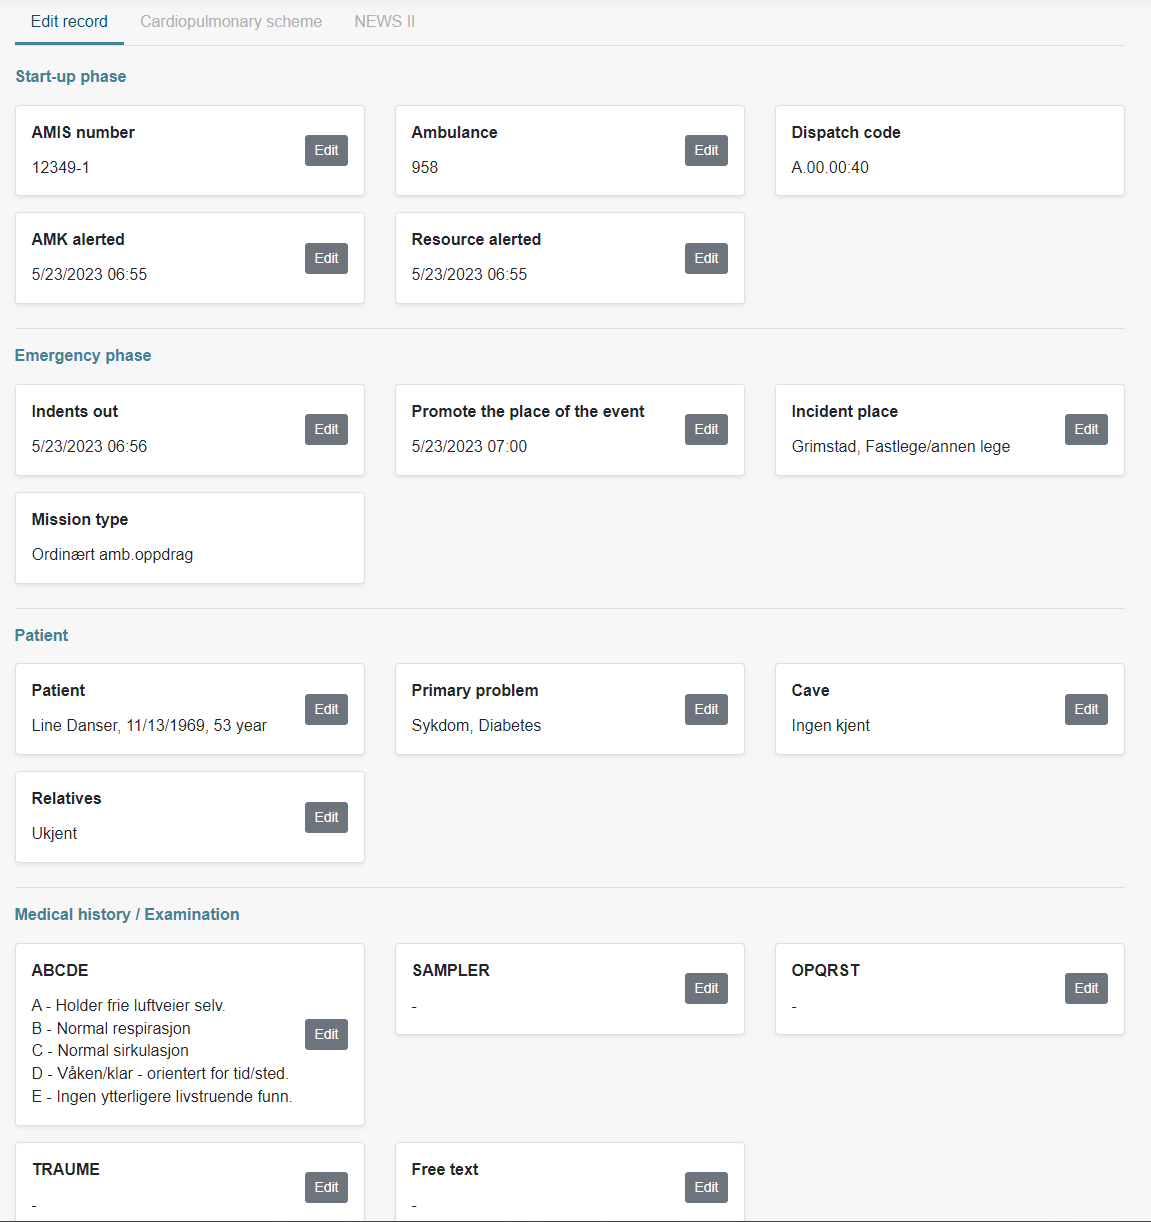
Click Edit on the specific field you need to update. A window will open for editing.
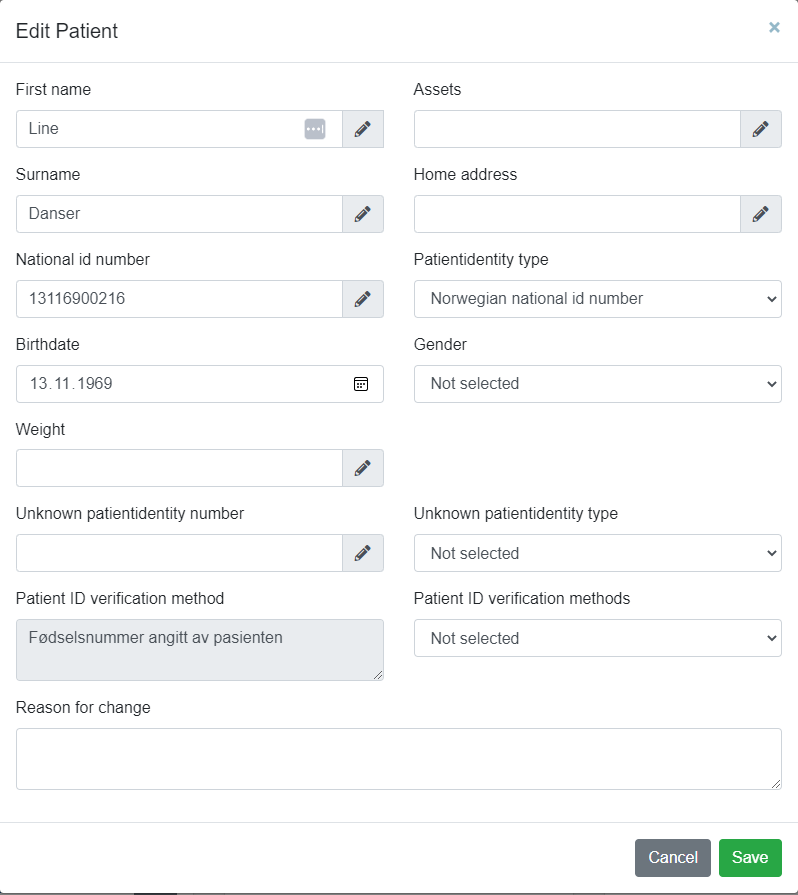
Make the necessary changes, provide a reason for the update, and click Save.
The changes will now be reflected in the record.
To access the Cardiac Arrest Form, click on the Cardiac Arrest tab in the top menu.
This will open the Cardiac Arrest Form.
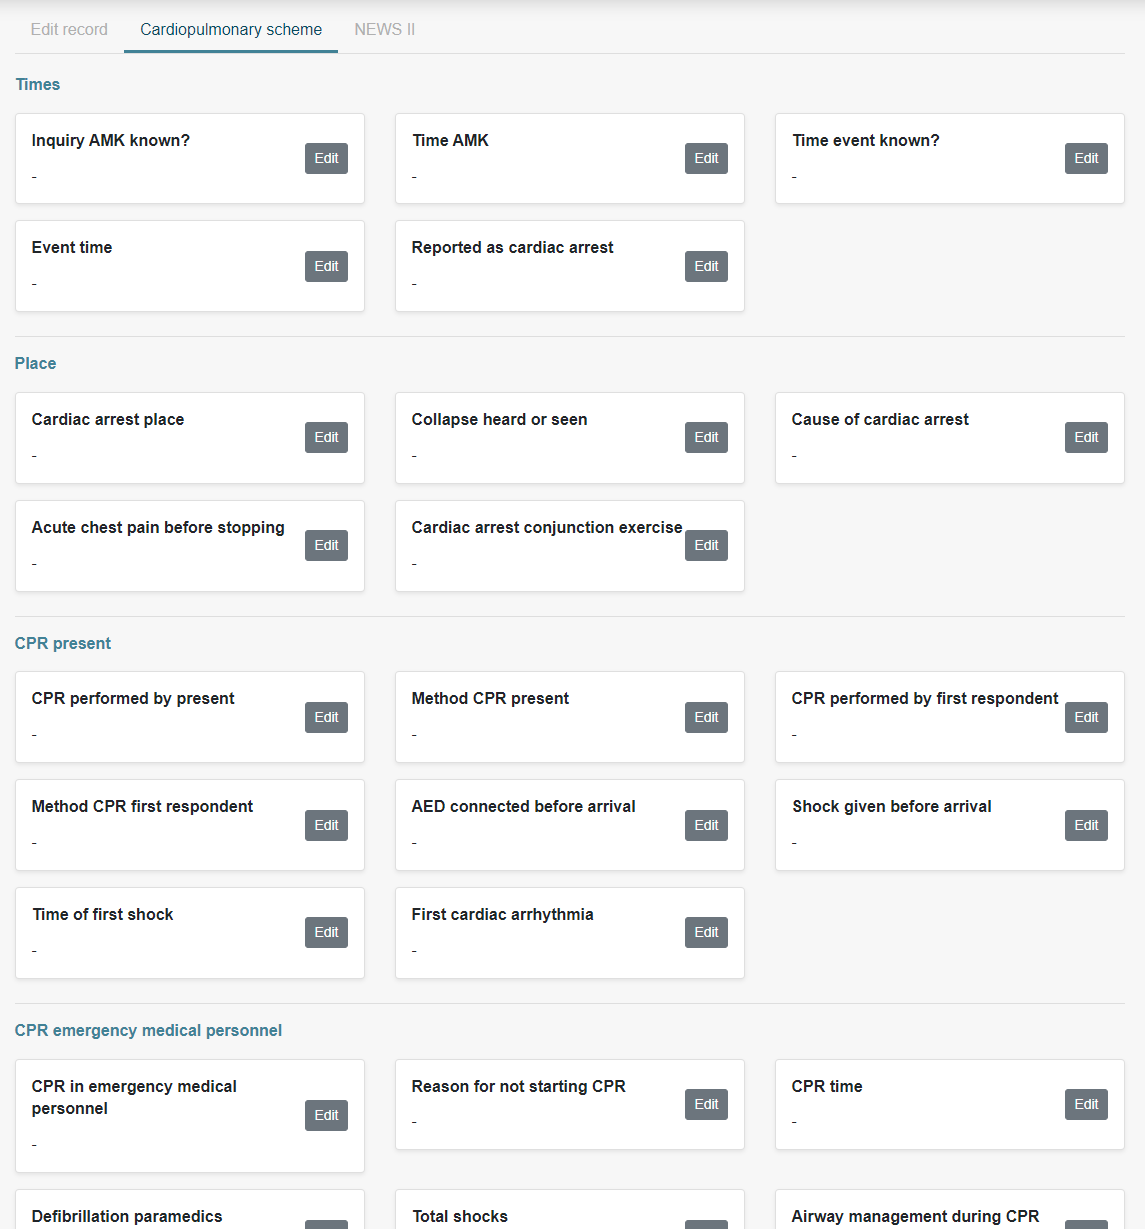
Make changes in the same manner as with the record.
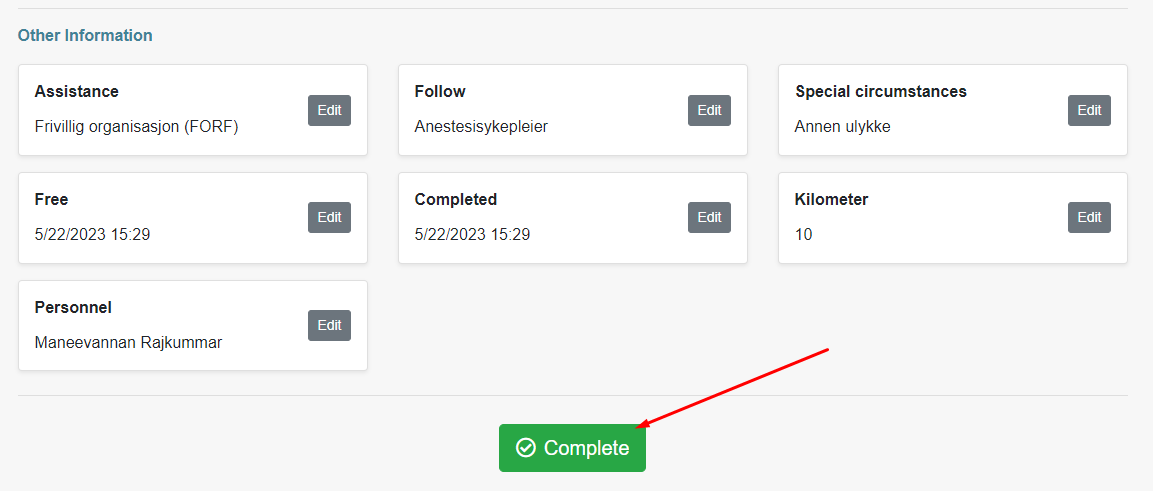
Once all changes are completed, click Complete to finalize the record.
Open PDF for printing
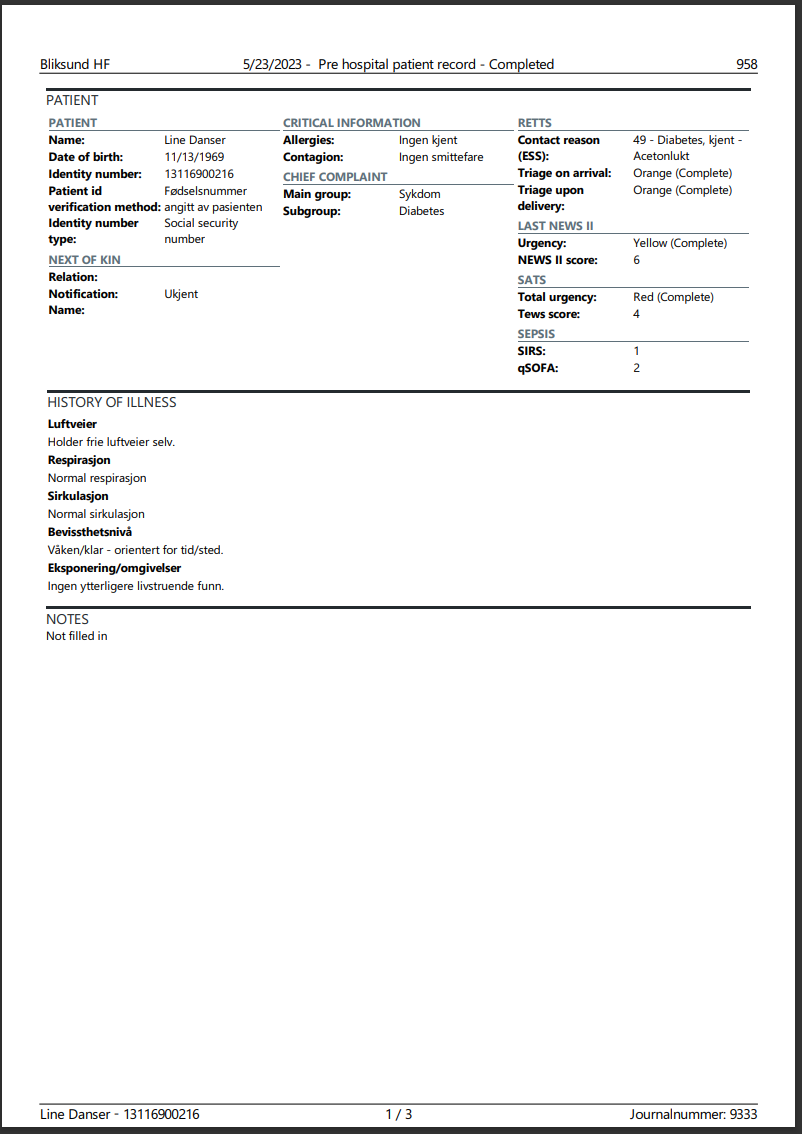
To open a record for printing, click Print.
A window will prompt you to select a reason for printing.
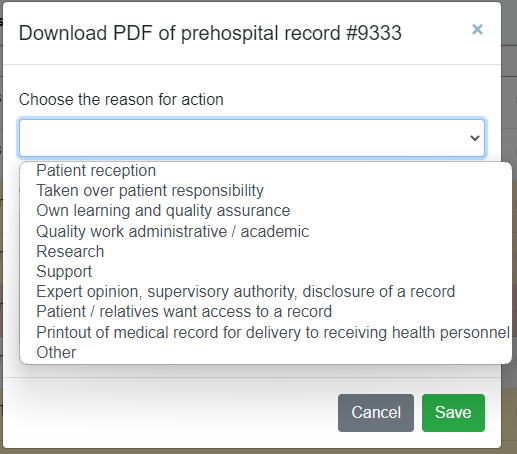
Choose a reason and click Save.
The record will open as a PDF, which can then be printed.
Deleting Record
To delete a record, click Delete.
A window will prompt you to select a reason for deletion.
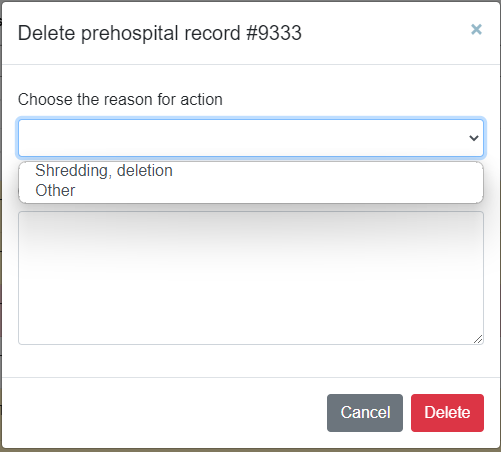
Choose a reason and click Delete.
The record is now deleted and can no longer be accessed in Insight.