EWA Client - Installation Guide
The system supports installation through the Bliksund Updater Service using the Version Manager feature, providing an automated solution for managing app installers and version updates.
Refer to the Version Manager User Guides documentation for details.
This document is about manually installing the application.
Starting from version 39, the client application will be distributed as an executable (.exe) file instead of a Microsoft Installer (.msi) file.
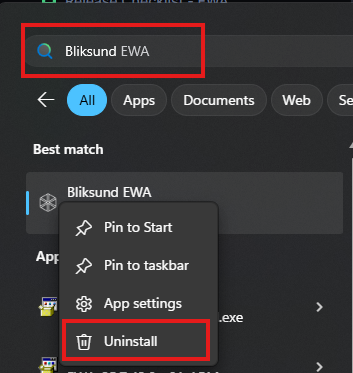
Uninstall older version
Before installing the new version of the application, the previous version must be uninstalled.
- If the device has only one user signed in, you can uninstall the app as usual:
- If the device is used by multiple users (including the administrator), the application should be uninstalled for all users. To do this easily, run the following PowerShell command with administrator privileges:
Get-AppxPackage -AllUsers BliksundAS.BliksundPEPJ | Remove-AppxPackage -AllUsers
Download the executable file
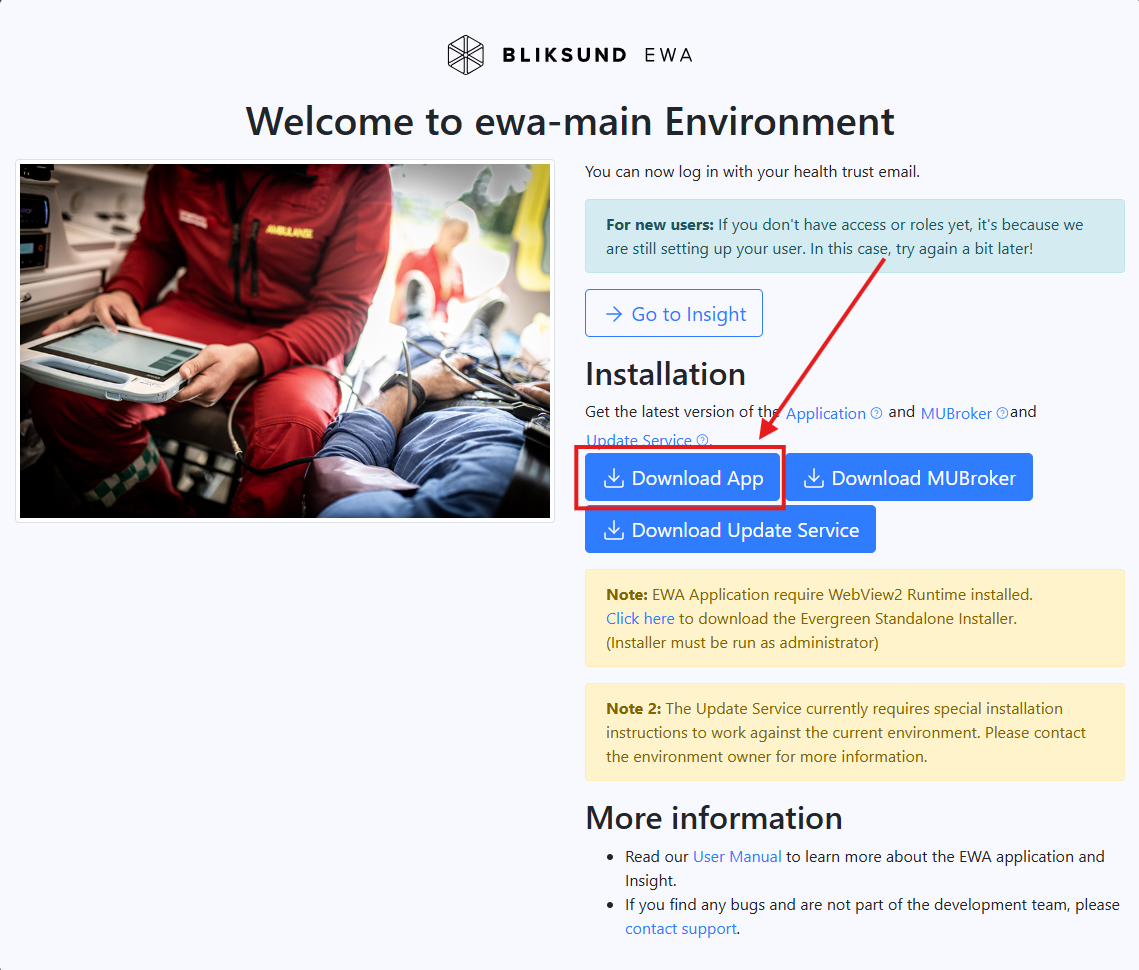
To download the .exe file for installation:
- Navigate to the Client Download Page.
- Click on the Download App button
- Wait until the download completes.
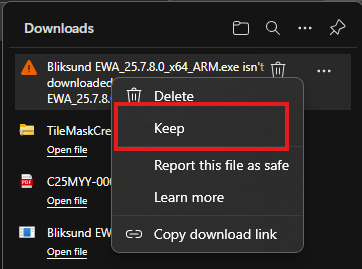
If you receive a warning from Microsoft Defender SmartScreen — a security feature in Windows — it means the file is not yet digitally signed. However, the file is still safe to use.
Right-click on the file from the download window and choose Keep
Click on the Show more button and choose Keep anyway
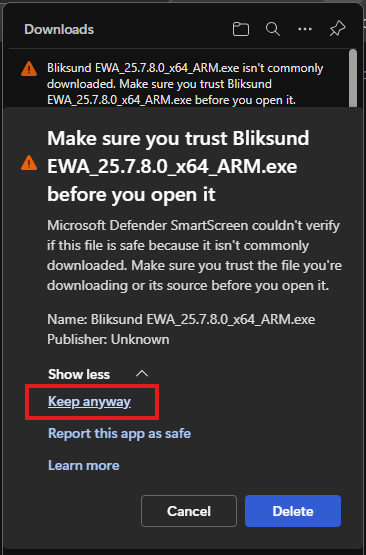
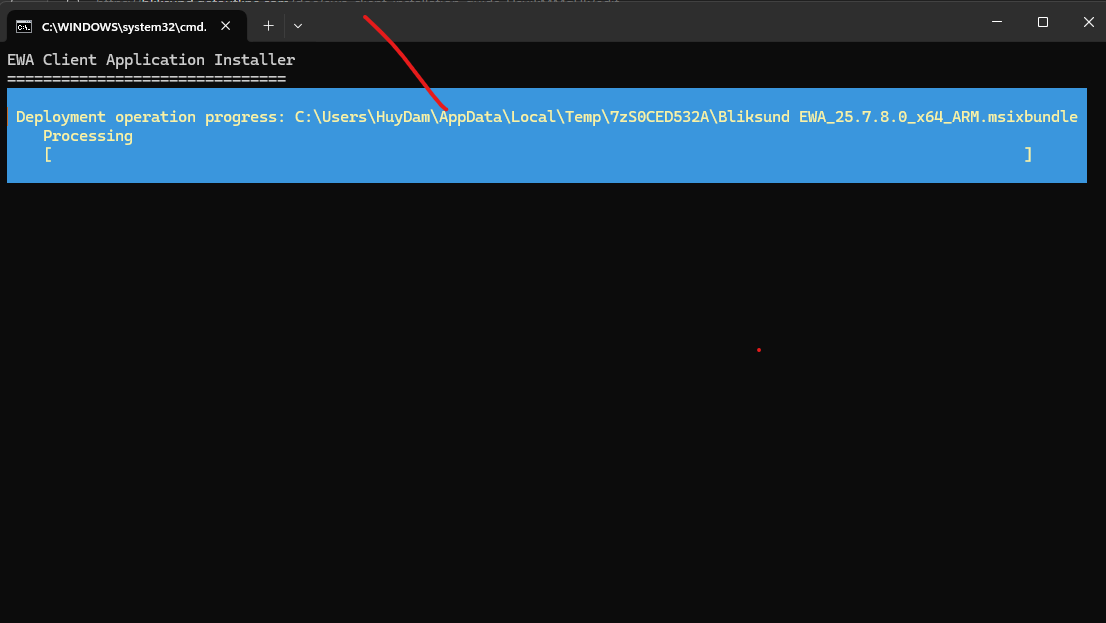
File download completed successfully. Please wait for the EWA client application installer to appear.

Install the application
-
Double-click on the .exe file
-
Click
Yeson the confirmation dialog
-
Wait for the installation to complete.
-
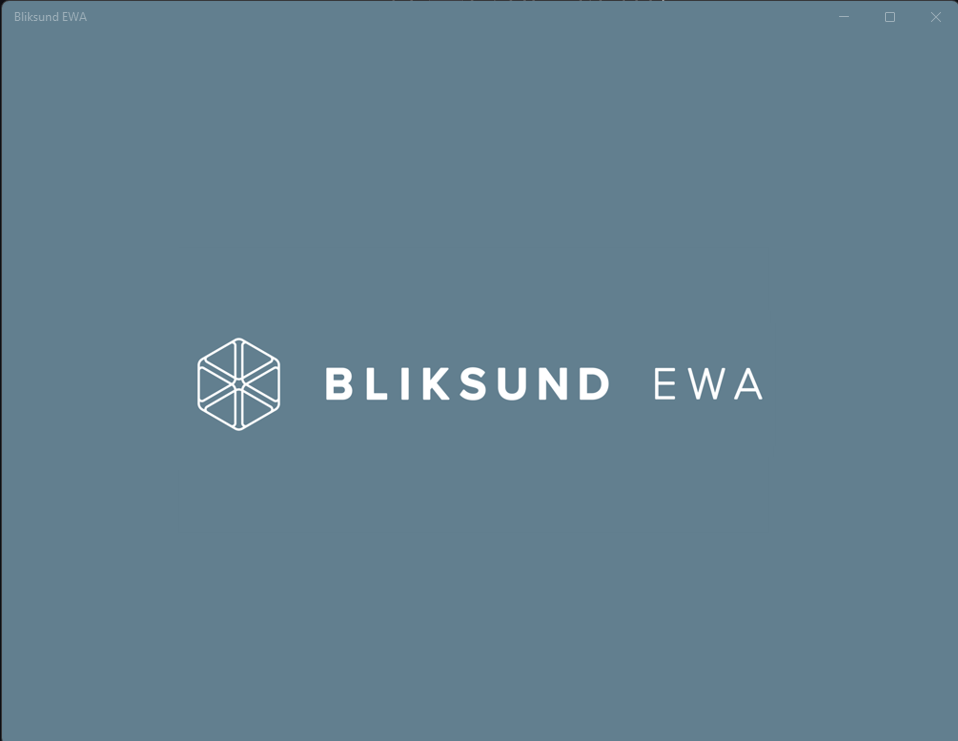
Now that the application is ready for use, the user can launch the app
Change the application settings
Starting from version 39, application settings must be updated using the new method.
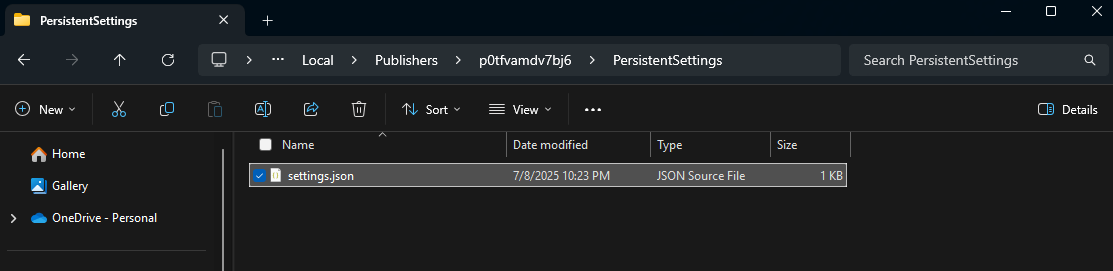
Change the App Settings in the settings.json file
Since version 39, the settings.json file is located in another place. Navigate to this folder to see the settings and change if necessary.
C:\Users
\AppData\Local\Publishers \PersistentSettings
Change the App Settings via Version Manager and Bliksund Updater Service
To use this method, the Version Manager feature flag must be enabled, and the Bliksund Updater Service must already be installed on the device.
Ensure that the Version Manager is properly set up and configured. Then, refer to Version Management Guide for instructions on how to update the configuration.
Change the App Settings Manually via Script
After the application is installed, you can update the settings manually using a PowerShell script.
- Prepare the
settings.jsonSee the sample file below that contains the updates:
{
  "Version": 2,
  "Url": {
    "Primary": "https://dev.ewa.bliksund.com/clienthub/",
    "Training": "https://test.bliksundhf.no/clienthub/"
  },
  "Dataset": "Azure",
  "LockTimer": 20,
  "EncryptDatabase": true,
  "Locale": "en",
  "Authentication": {
    "ServerSideOIDCAuthentication": false,
    "OidcClientOptions": {
      "ClientId": "4a821d50-11a1-483f-8782-e865ab3033a1",
      "ClientSecret": null,
      "Authority": "https://login.microsoftonline.com/73935988-7e75-46c2-8cc6-d2d91985f67b/v2.0",
      "Scope": "openid profile api://4a821d50-11a1-483f-8782-e865ab3033a1/Client"
    },
    "UserIdClaimType": "preferred_username",
    "NameClaimType": "name",
    "OrganizationClaimType": "extn.OrganizationIdentification",
    "CurrentOrganizationId": null,
    "UseWebView2Login": true,
    "EnableAzureSSOExperience_Comment": "Set to true to enable SSO experience using the logged in-to Windows account",
    "EnableAzureSSOExperience": false,
    "AdditionalLoginParameters_Comment": "Often used when EnableSSOExperience is set to true to configure the login experience. Examples: &prompt=select_account, &prompt=none, &prompt=login",
    "AdditionalLoginParameters": ""
  },
  "Logging": {
    "MinimumLevel": "Warning"
  },
  "EnableWebViewDebugging": false
}
- Open the Windows PowerShell (Run as Administrator mode)
- Execute the command (change to correct the version number)
Set-AppXProvisionedDataFile -Online -PackageName "BliksundAS.BliksundPEPJ_25.7.8.0_x64__p0tfvamdv7bj6" -CustomDataPath "D:\settings.json"
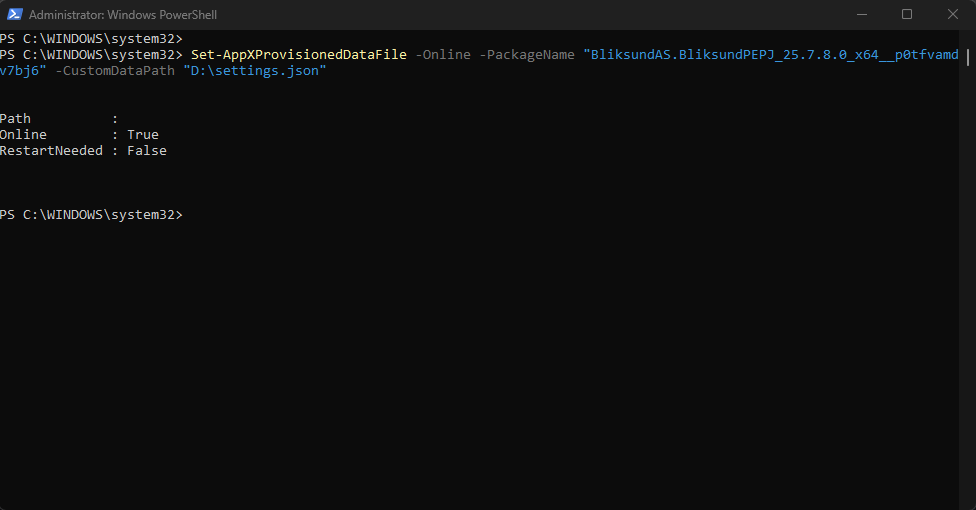
- Restart the app to see the changes.
Issue and Troubleshooting
There are several issues that can cause the installation file to fail during an update:
- The app installs but cannot be used due to incorrect settings.
In some cases, the executable file downloads and installs successfully, but the app fails to run correctly because of invalid or outdated settings, such as culture, network status, etc. This often happens when the previous app settings were not fully removed during the uninstallation of the older version.
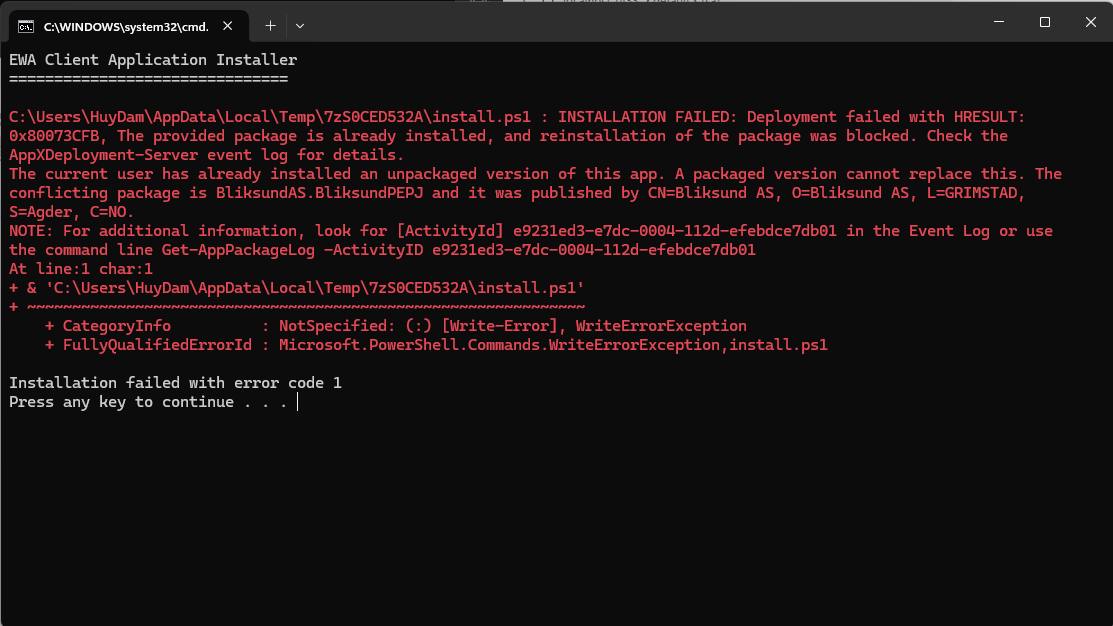
- You need to reinstall the older Bliksund Updater Service (if you have).
- Run this command to force uninstall the app for all Windows users
Get-AppxPackage -AllUsers BliksundAS.BliksundPEPJ | Remove-AppxPackage -AllUsers
- Install the application again.